I wanted to fill up a big empty wall in my daughter's room. But I didn't want to commit to any artwork as I knew I would then start decorating around that artwork. So I wanted something neutral, but girlie and relatively inexpensive enough to still be cute! After a few hours on pinterest, I found the answer.... a paper butterfly wall!
What you will need:
Assortment of Paper
Butterfly Hole Puncher
Regular clear tape
Start by selecting the papers that match your bedroom's vision. Some of mine had two sides, others didn't, some had glitter, some were cardstock and others just regular weight.
Try to keep the likes together, makes it easier when putting them up. Since I didn't want the same paper side by side.
These are the papers I chose. Assortment of pinks and glittered paper.
I had seen the Martha Steward butterfly hole puncher at Micheal's. But I happened to find this one at Hobby Lobby. I liked it because it was bigger and cheaper!!
It took about 10 minutes to punch through the paper and get a good stack of butterflies.
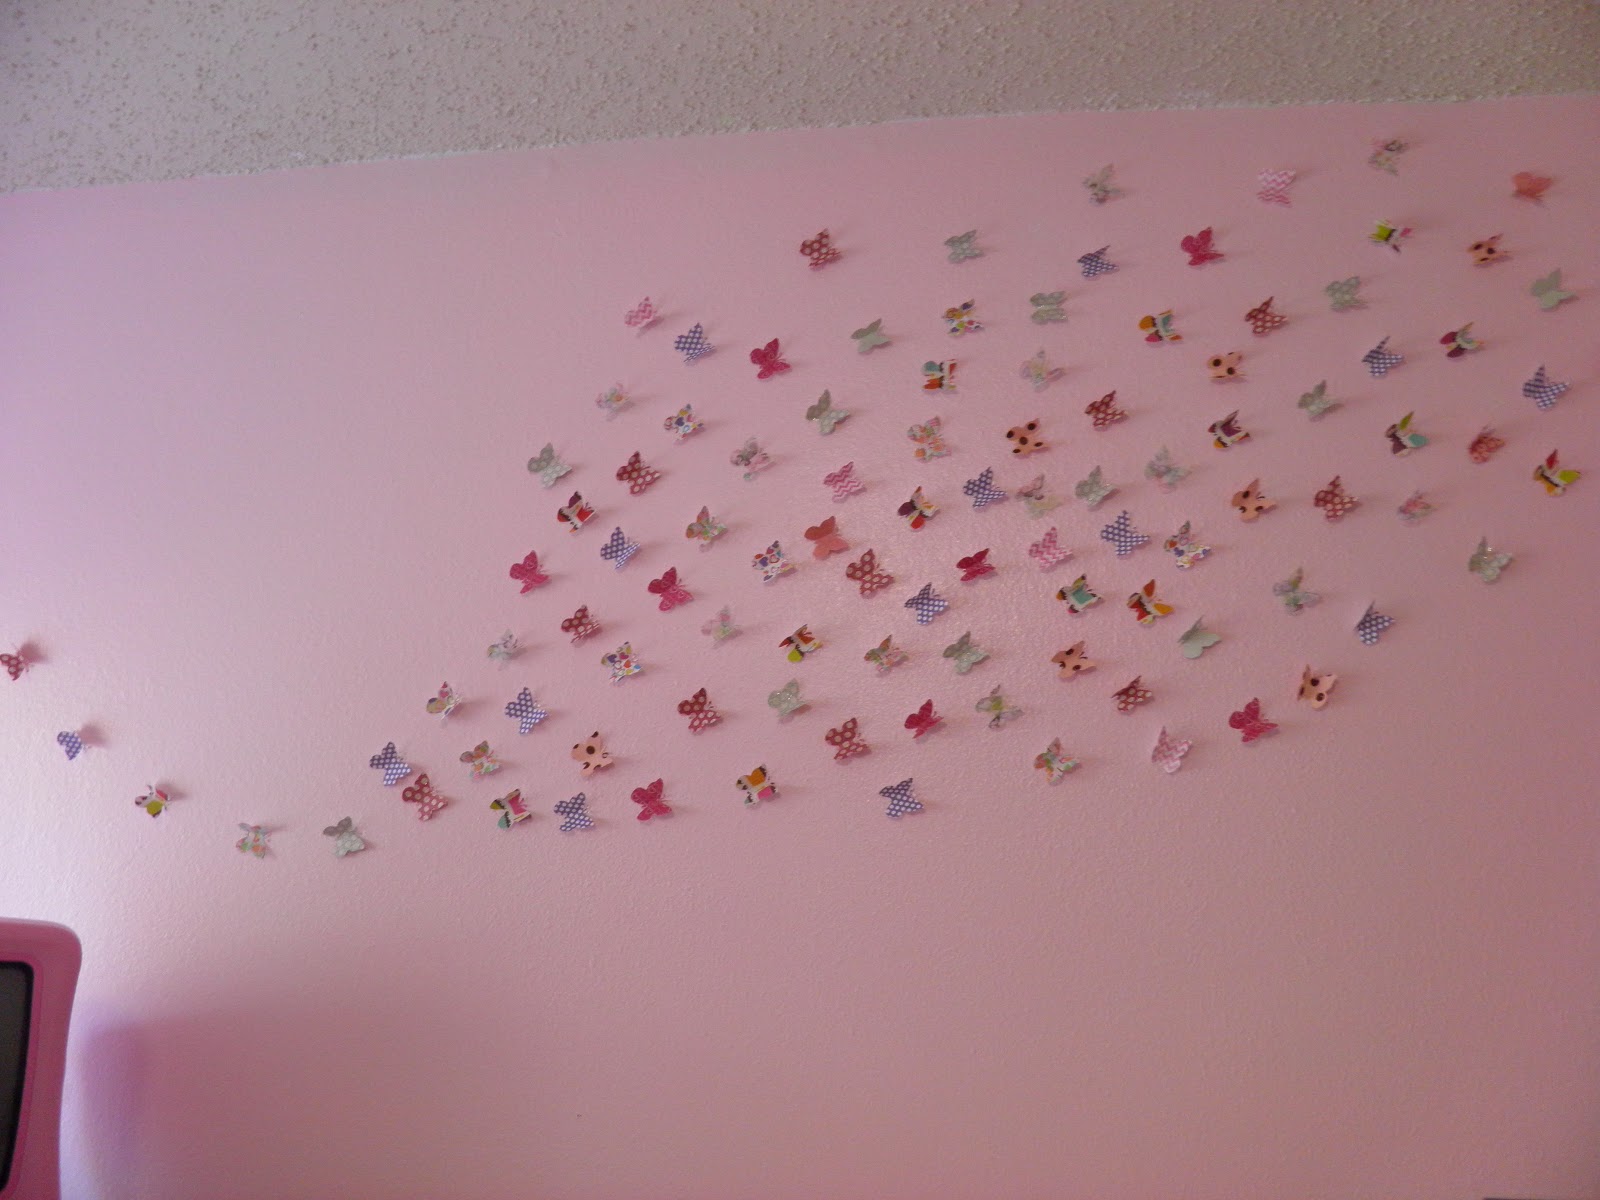
Off I went to tackle the empty wall. I started putting a few here and there. I just took regular Scotch tape and rolled it to make it double sided and up it went. I pre-folded the butterfly wings in the "up" positionto get the shadow / 3D effect.
Just keep putting them up. I started with here and taped up the rough outline of the curves I wanted. Then i just started filling it all in.
You can see the shadows here.
Up close and personal!! =)
This is a SUPER SUPER easy project once you have all the supplies. It took me a total of about 1 hour to get this done! (Once I got all the supplies home.) This is a new record for me, to shop for the supplies, complete the project, take the pictures AND post!!!!!!!! This has NEVER happened before!!! Yay! Maybe I am on to something here!! Watch out craft list!!!!!
Linked at
http://www.classyclutter.net/ and
http://sewchatty.blogspot.com/
http://www.tipjunkie.com/category/all-crafts/handmade-projects/" >

http://uploads.tipjunkie.com/wp-content/uploads/2010/02/TipMeTuesdayButton1.png
" border="0" />


No comments:
Post a Comment